All Images
Introduction
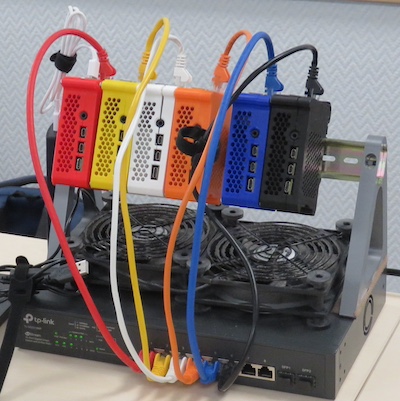
Figure 1
Preparing an SD Card
Figure 1
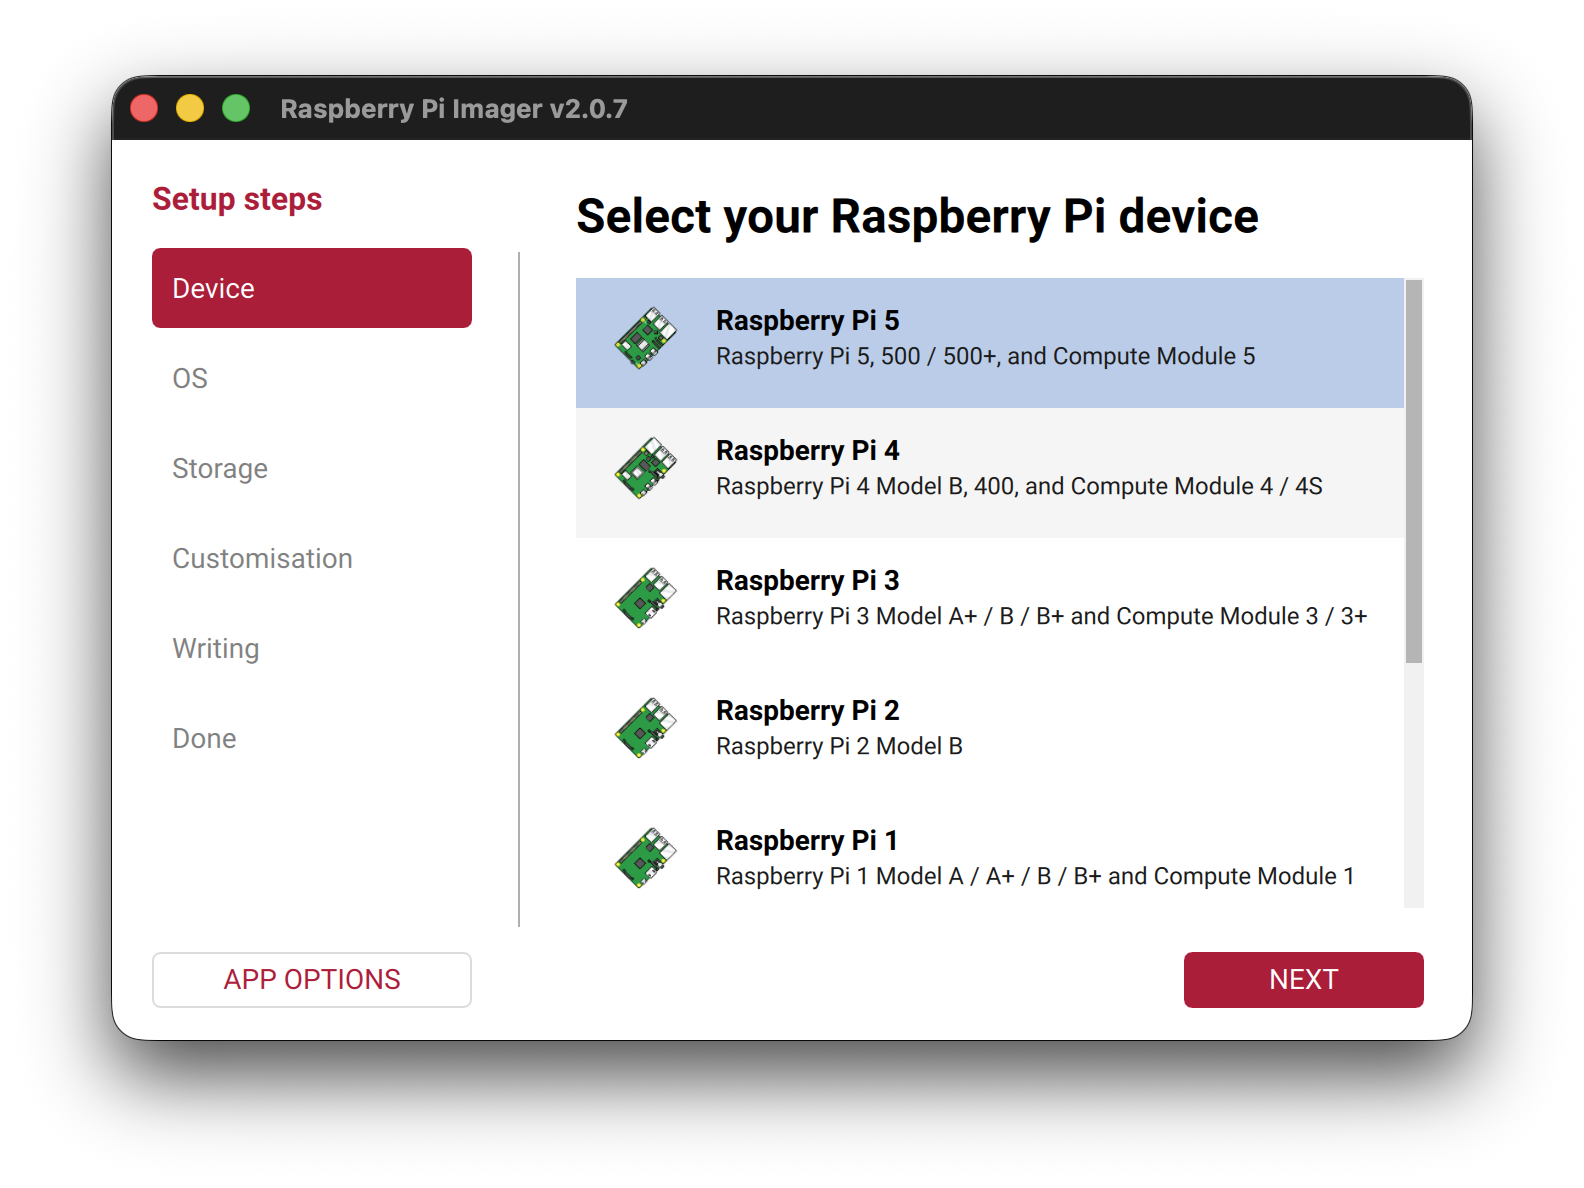
Figure 2
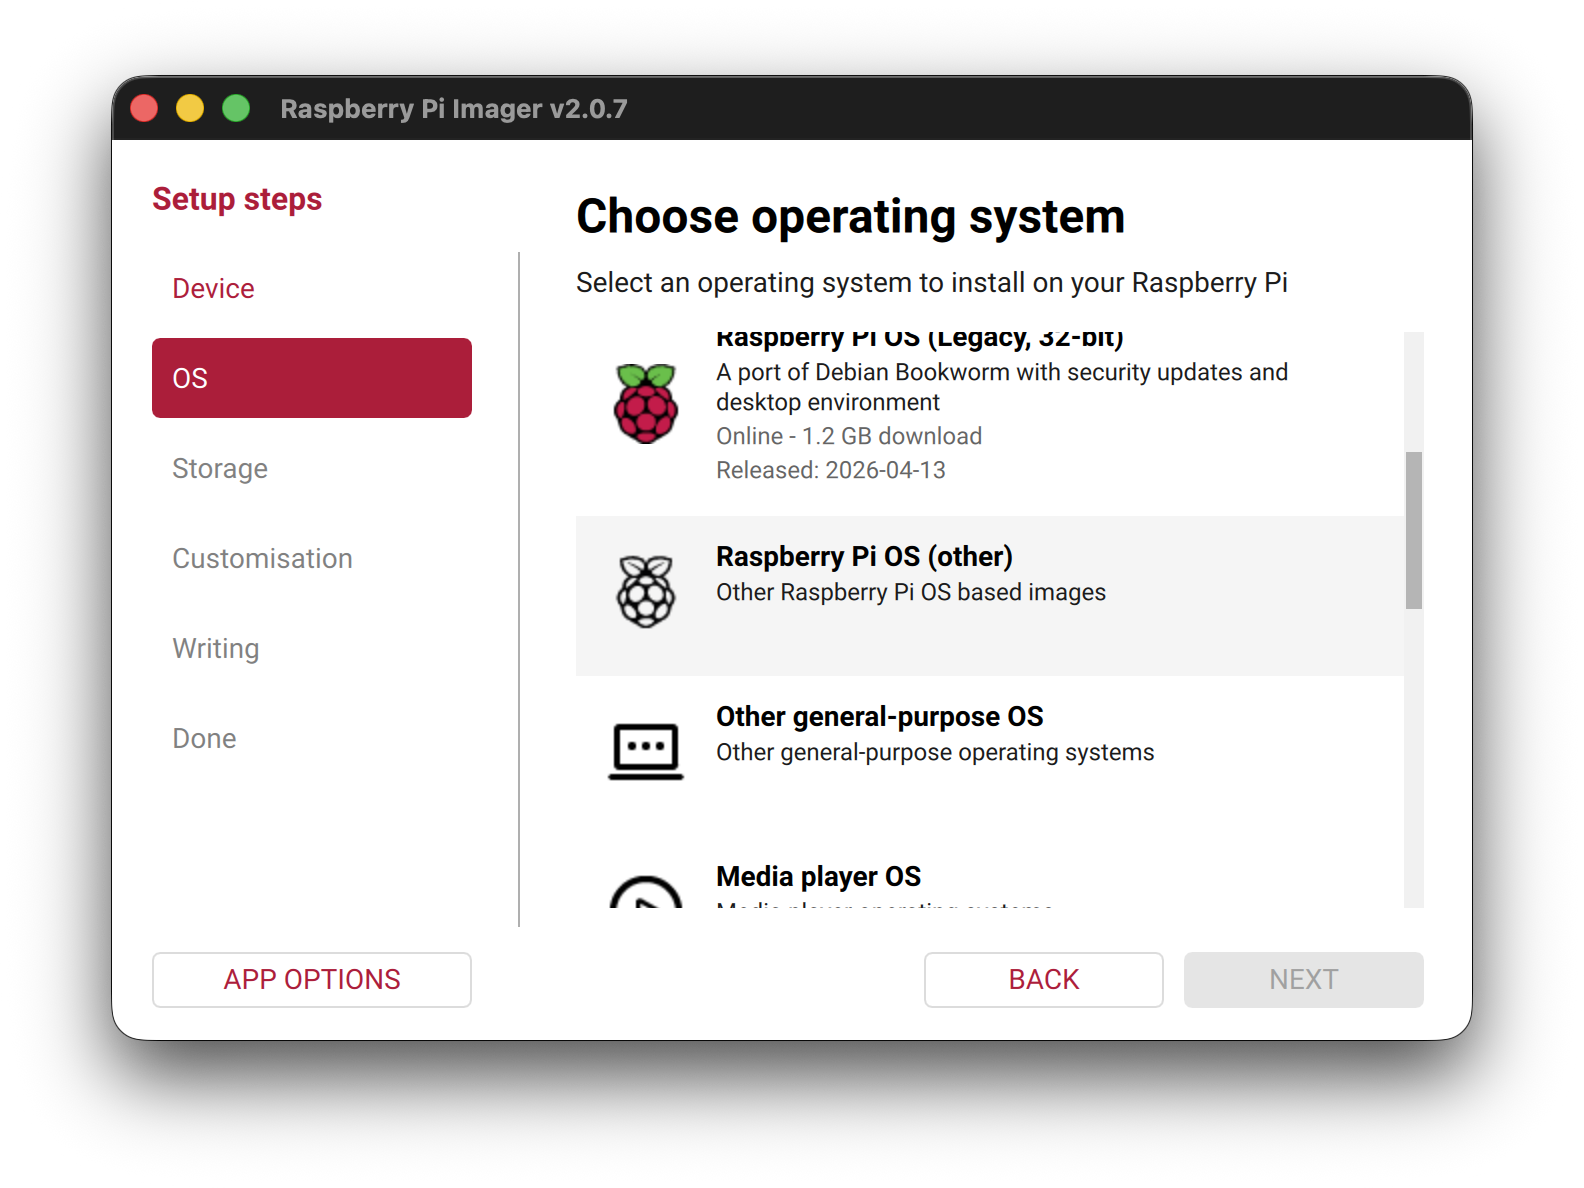
Figure 3
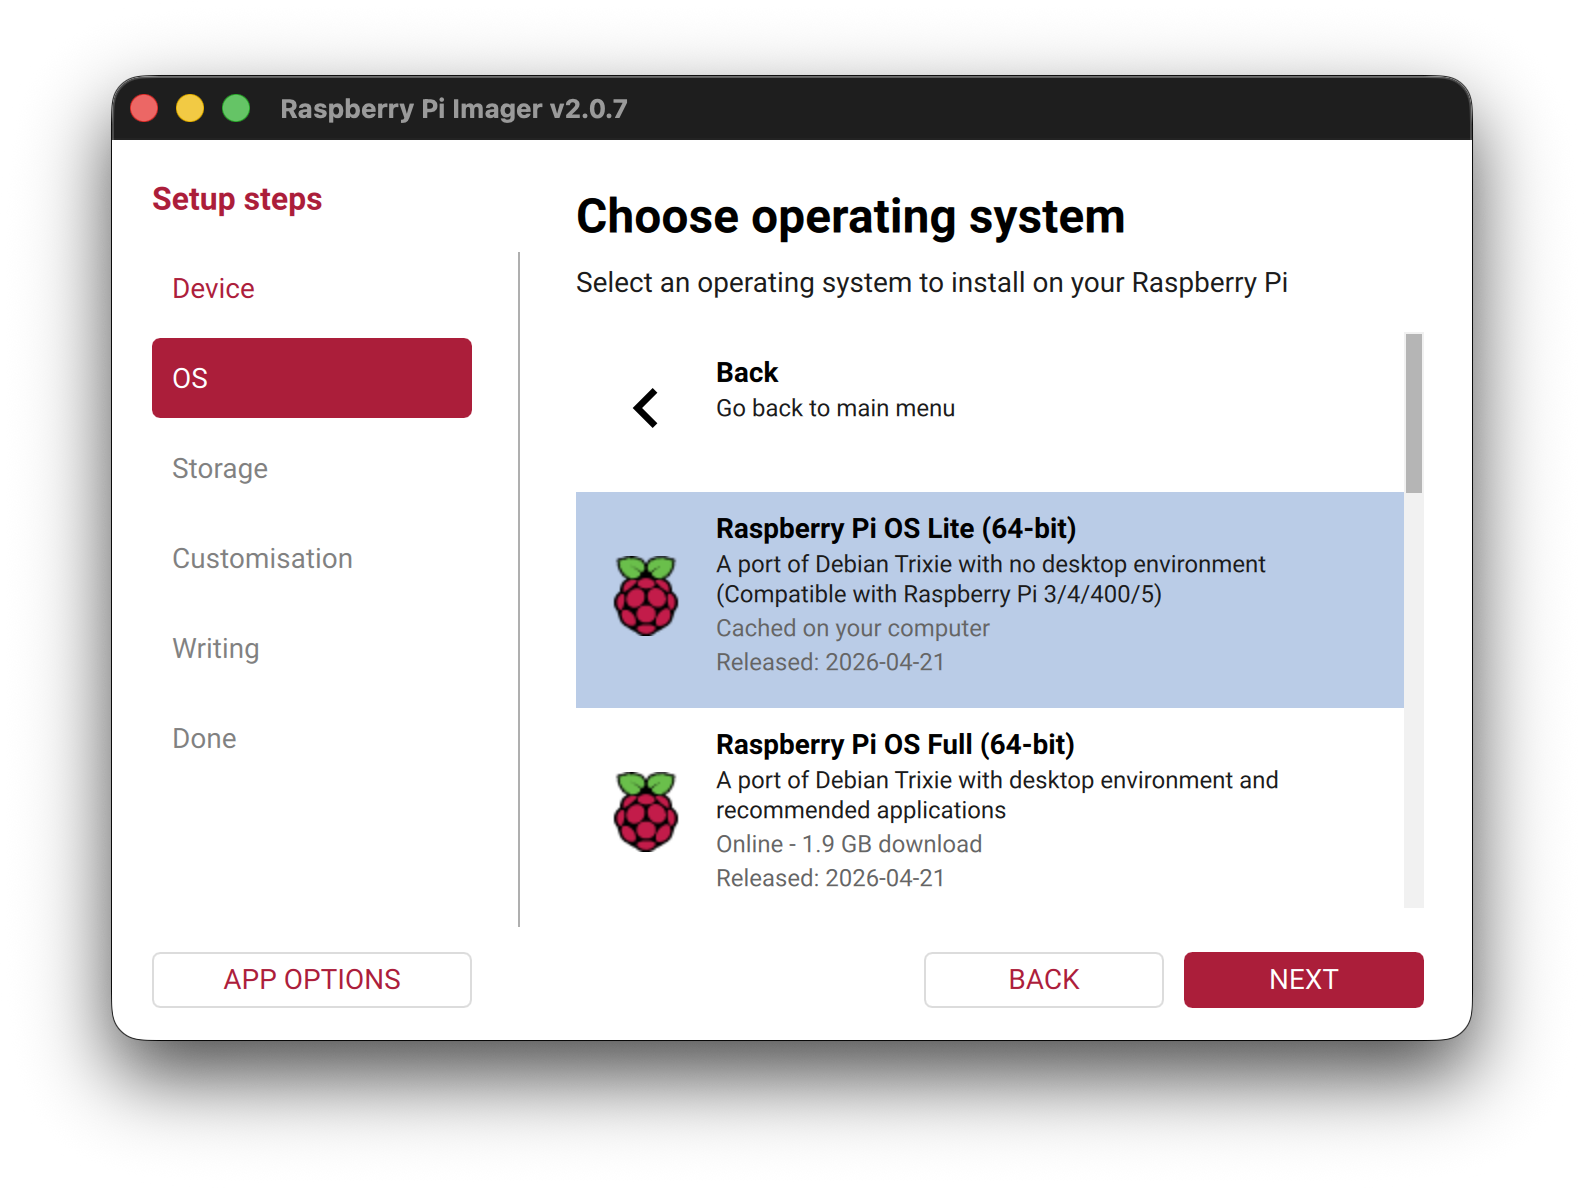
Figure 4
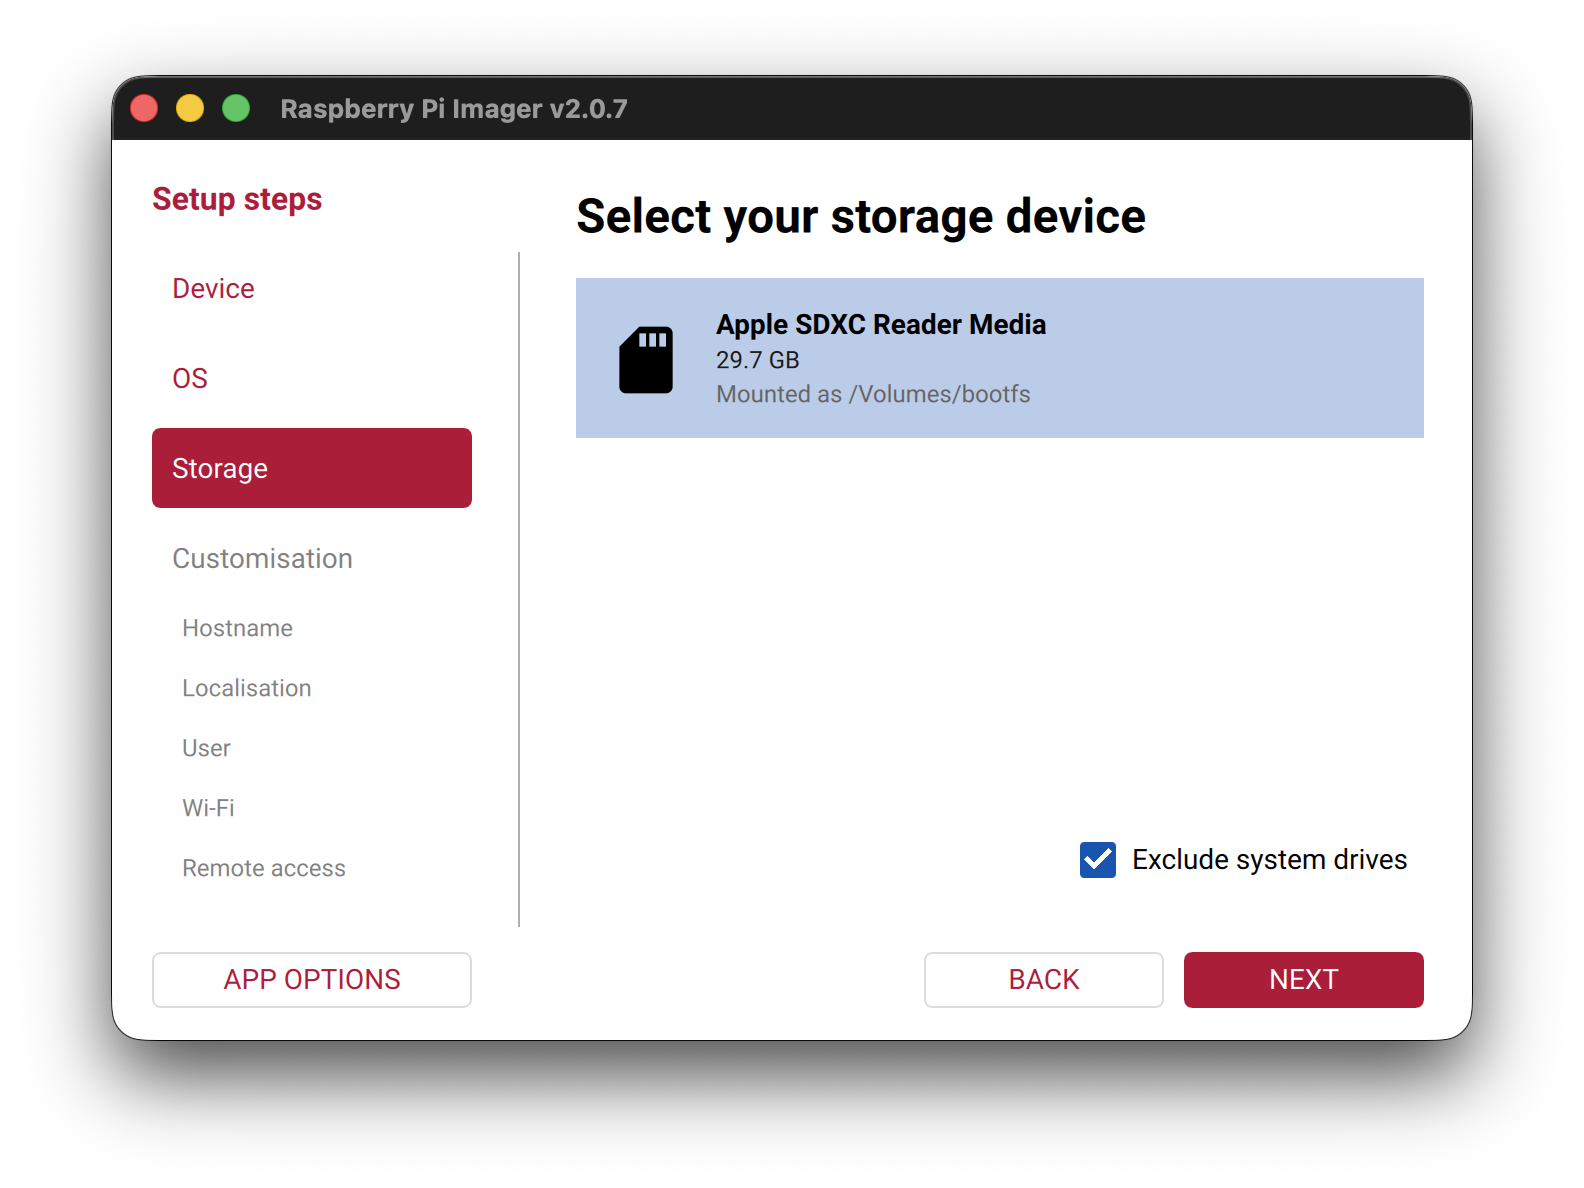
Figure 5
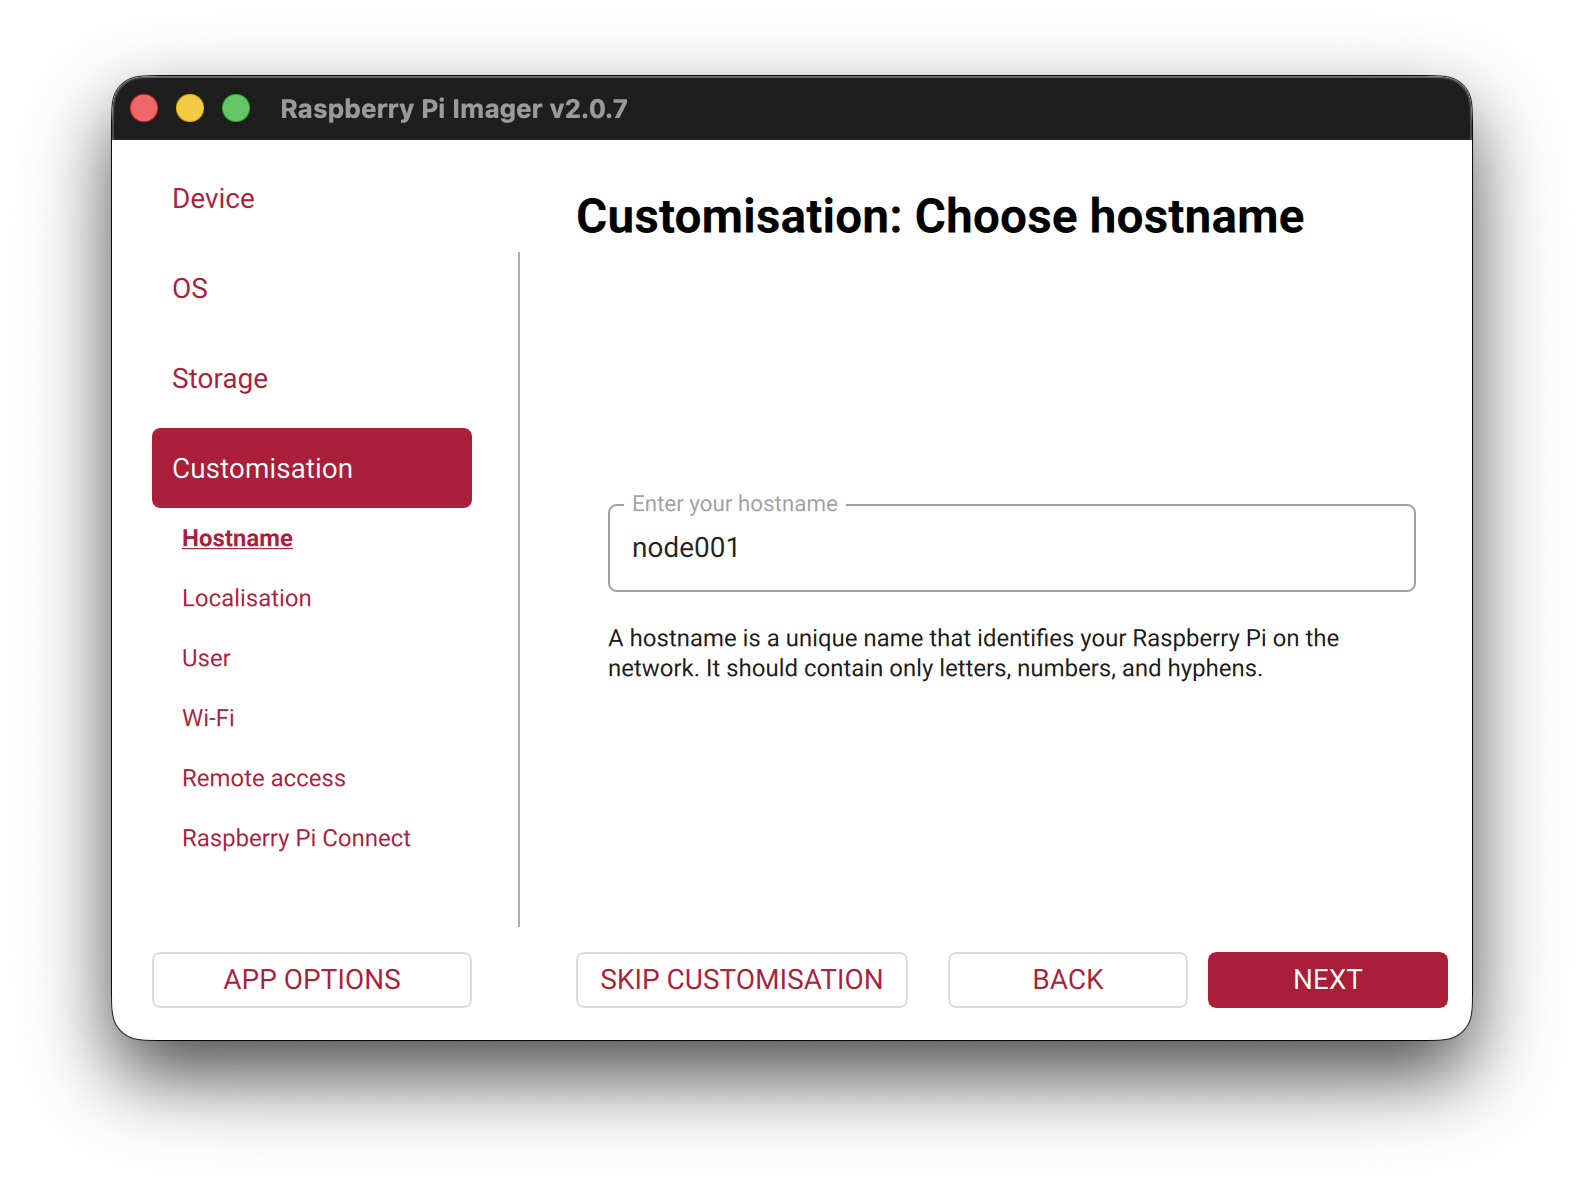
Figure 6
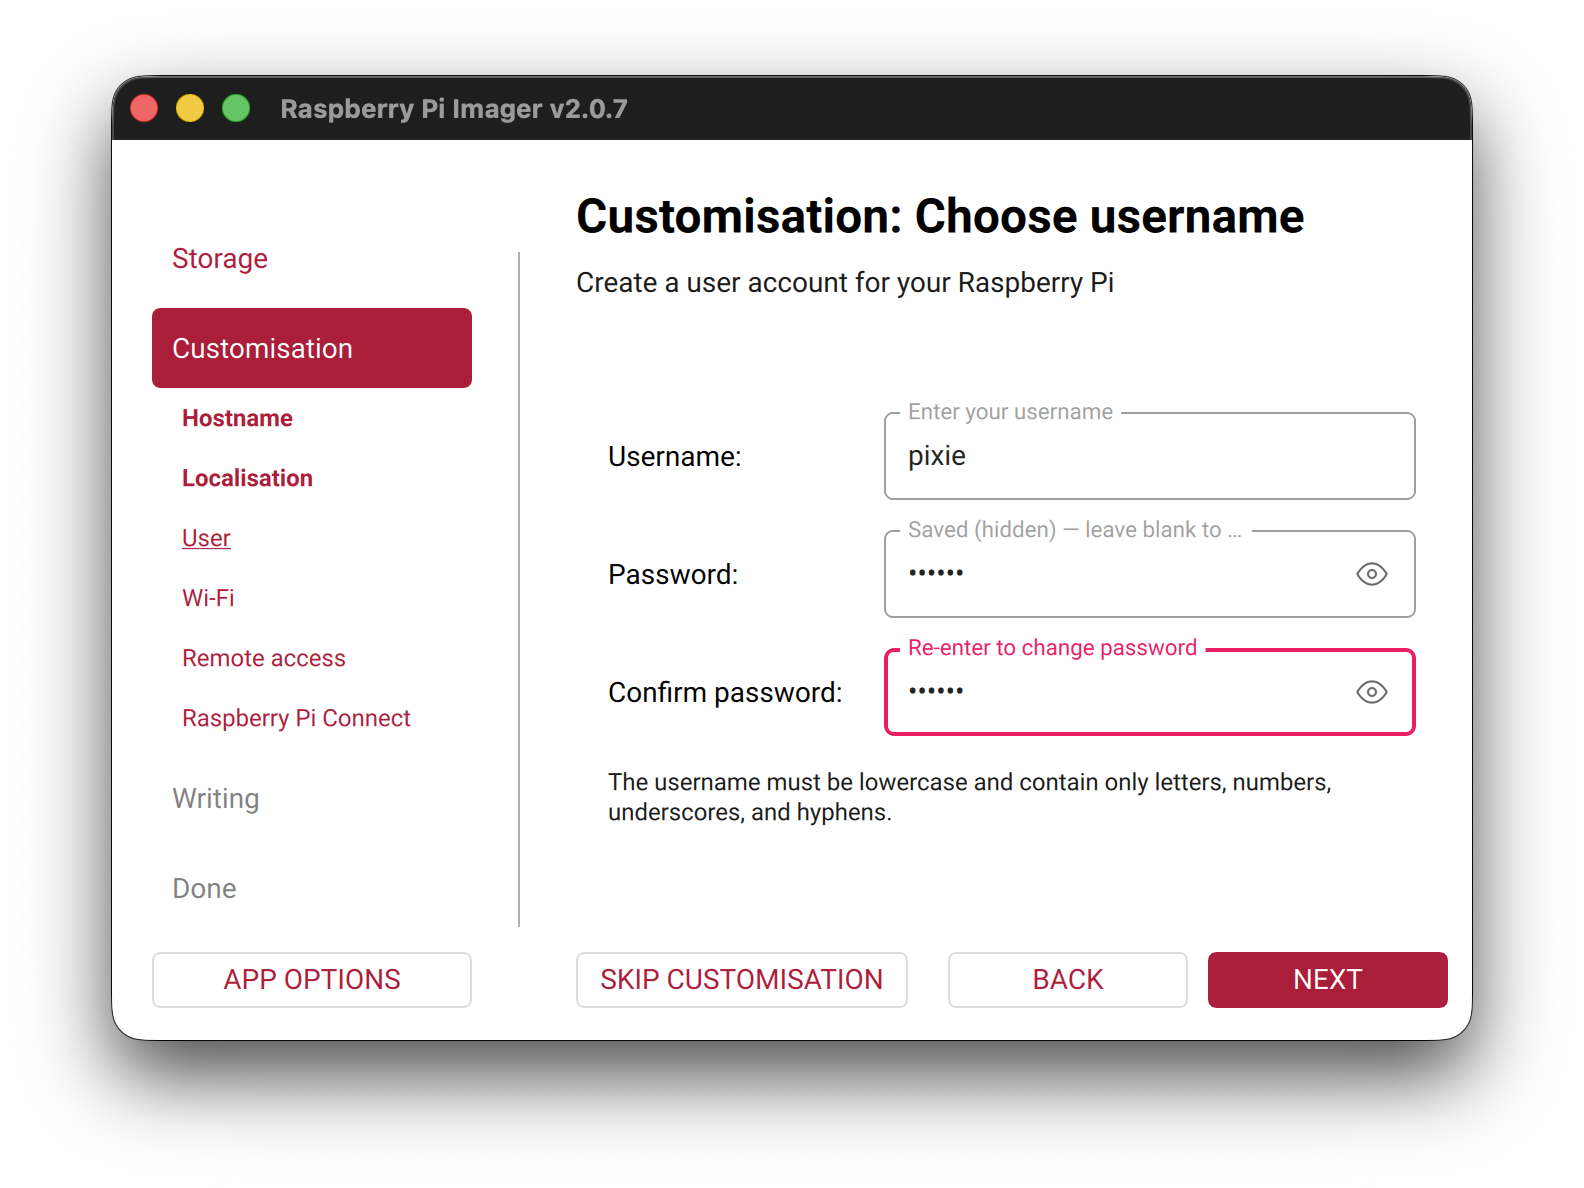
Figure 7
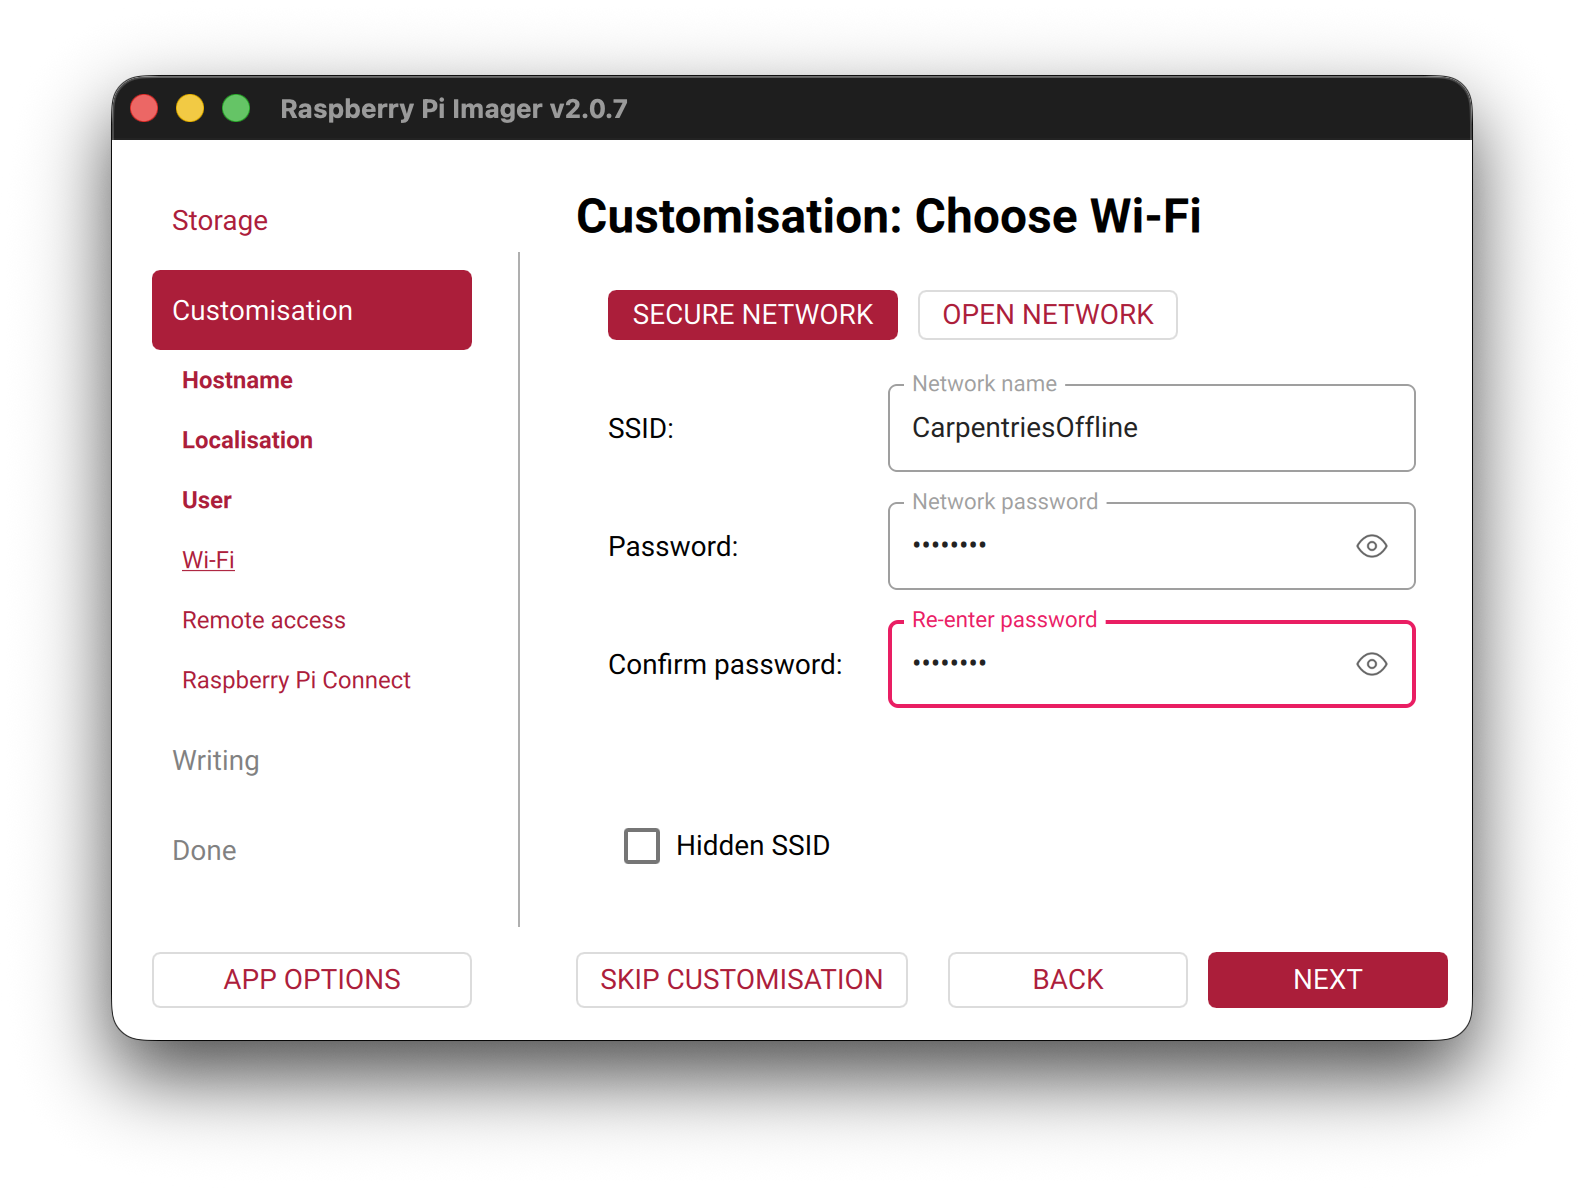
Figure 8
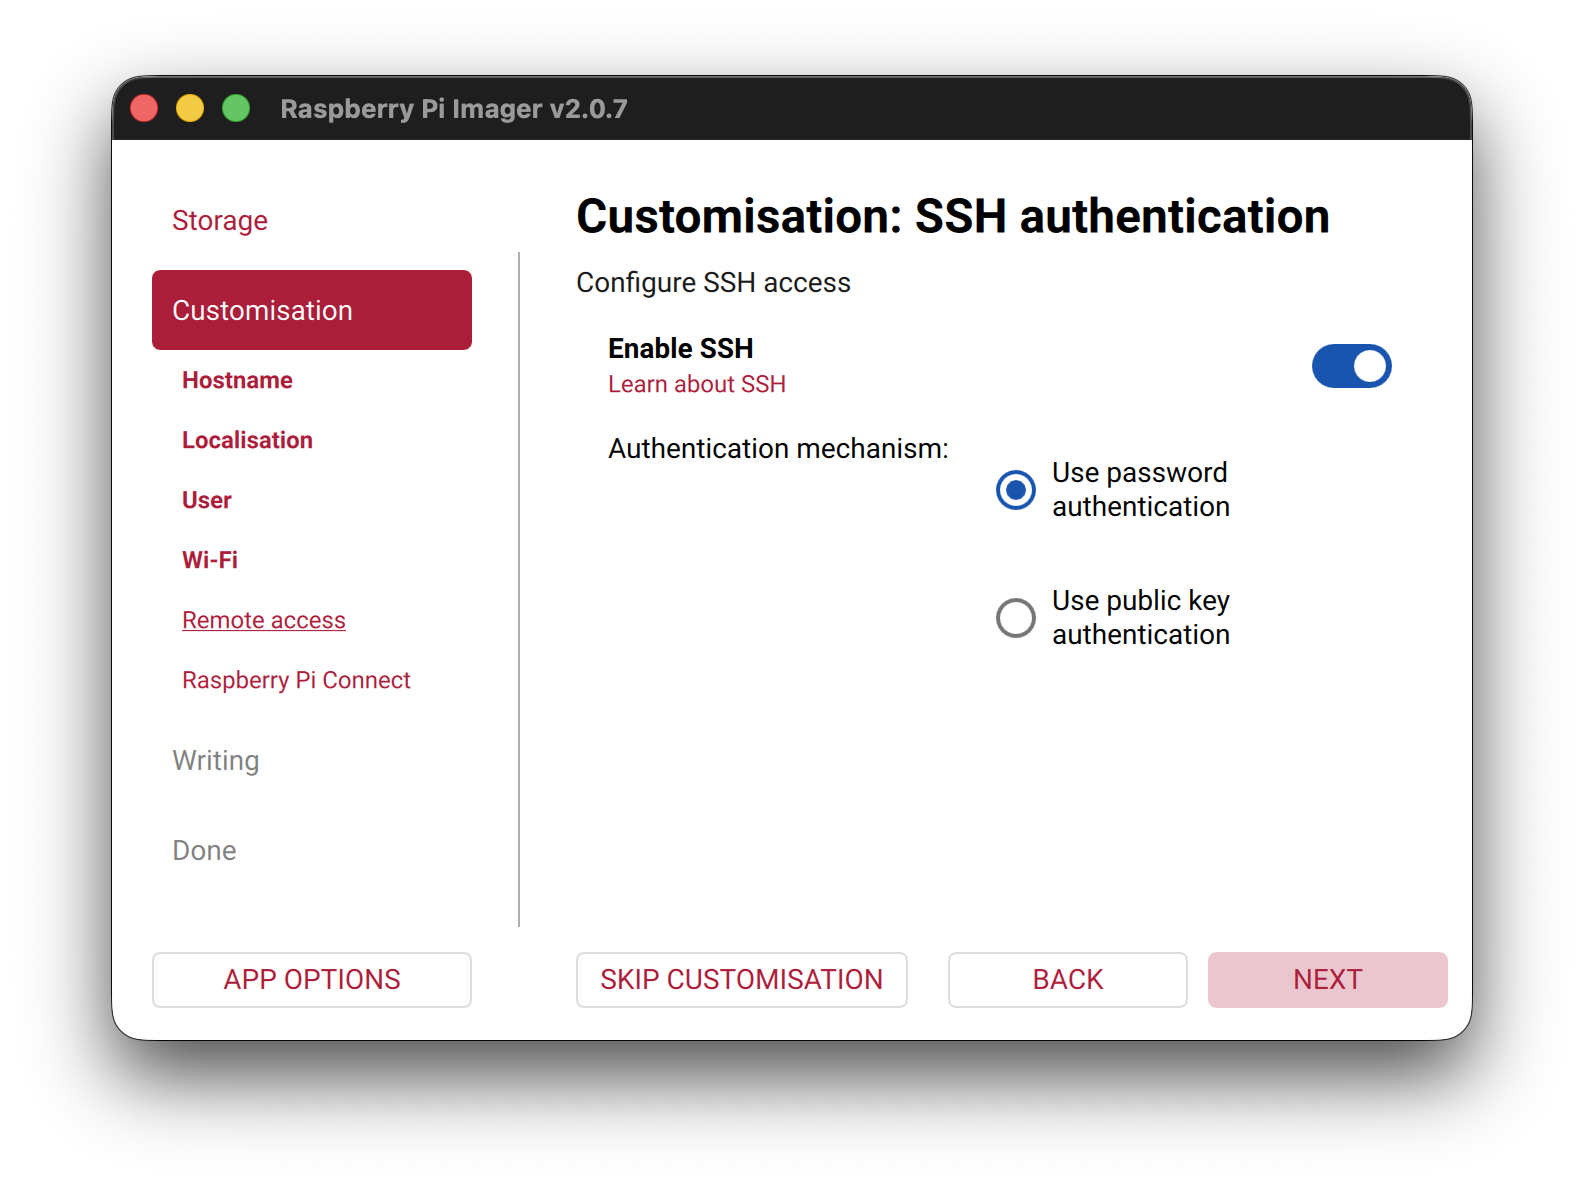
Figure 9
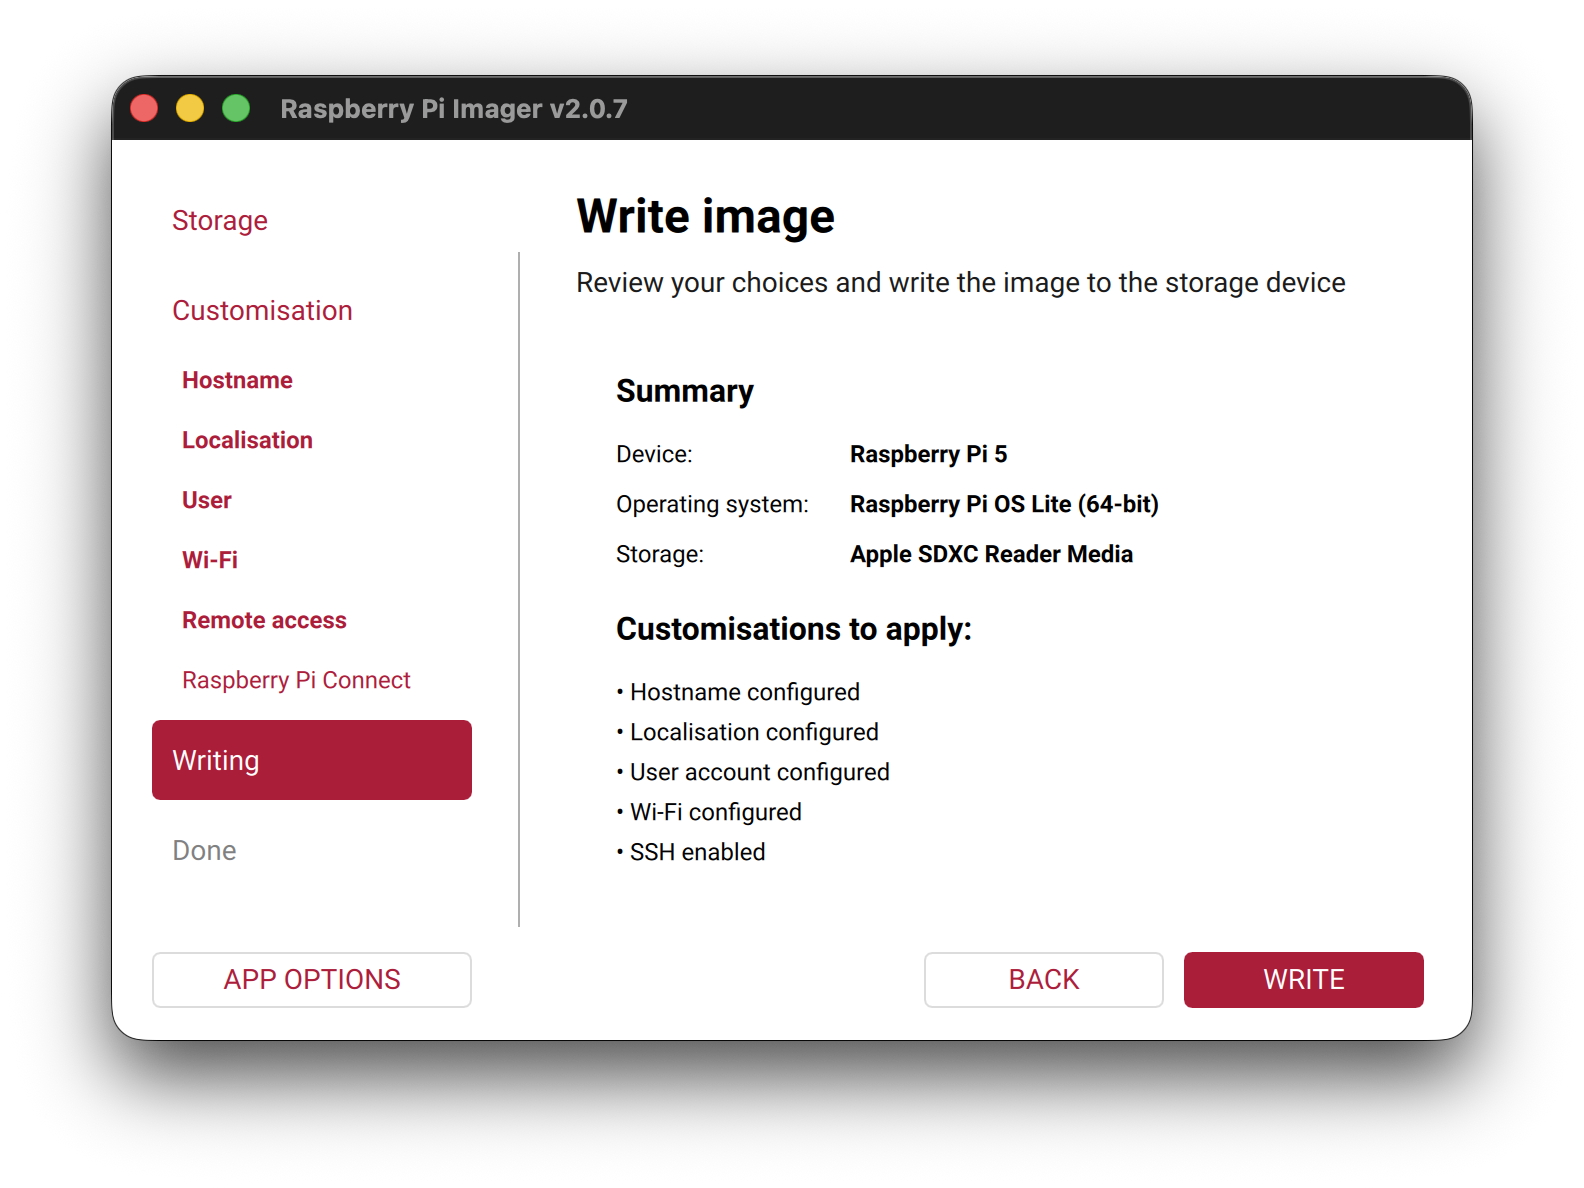
Booting and Updating
Figure 1
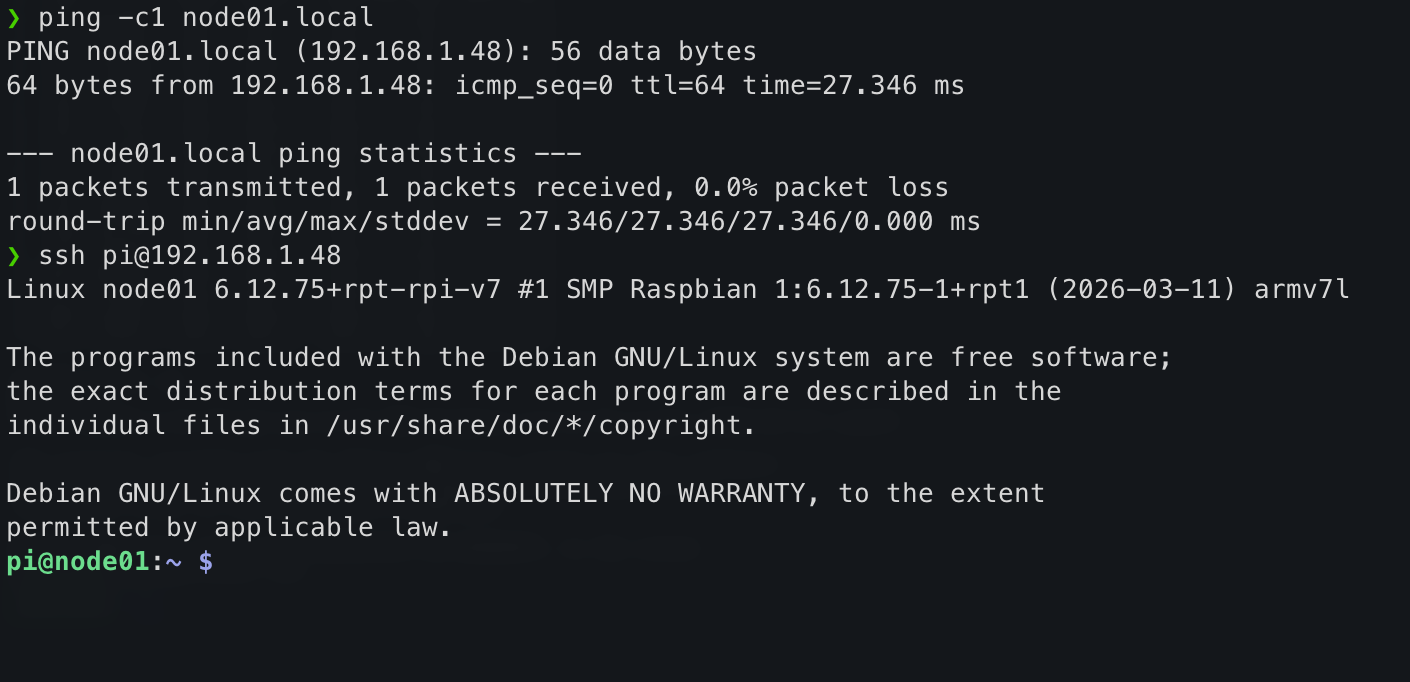
Configuring the login node
Figure 1
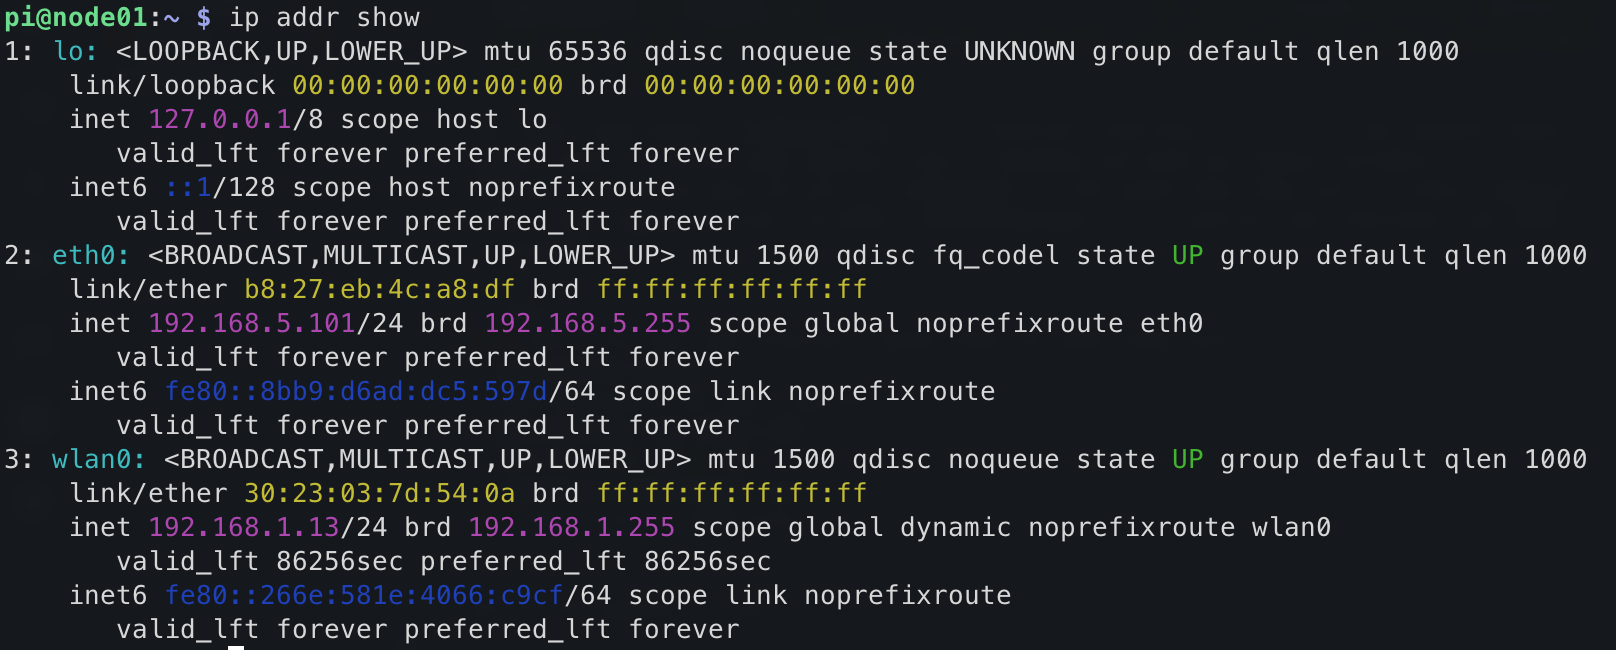
Figure 2
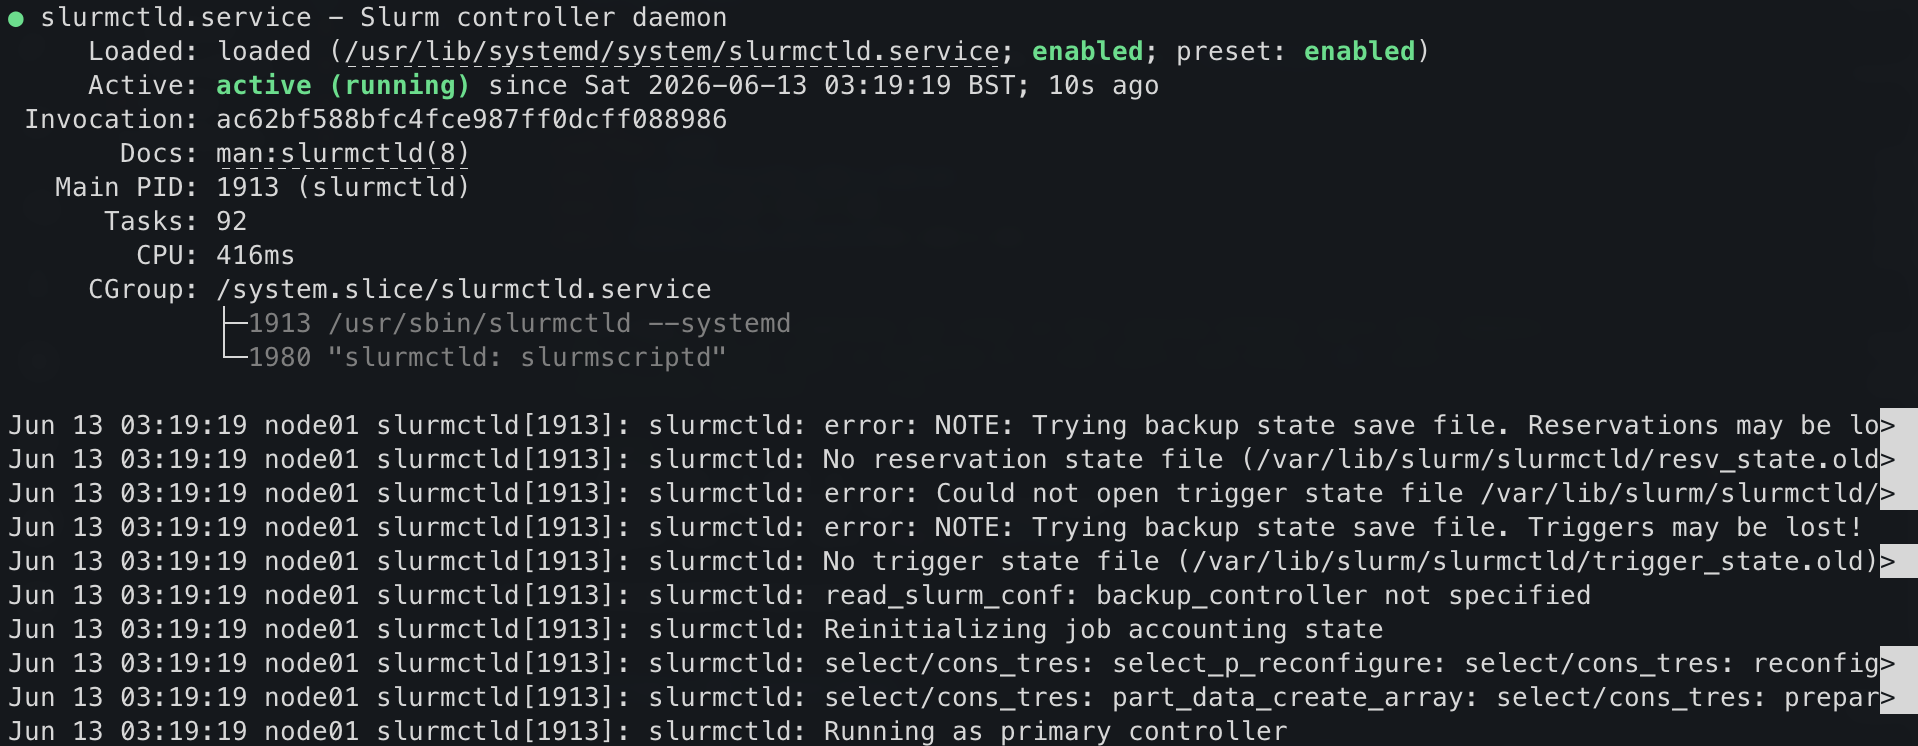
Configuring a compute node
Figure 1
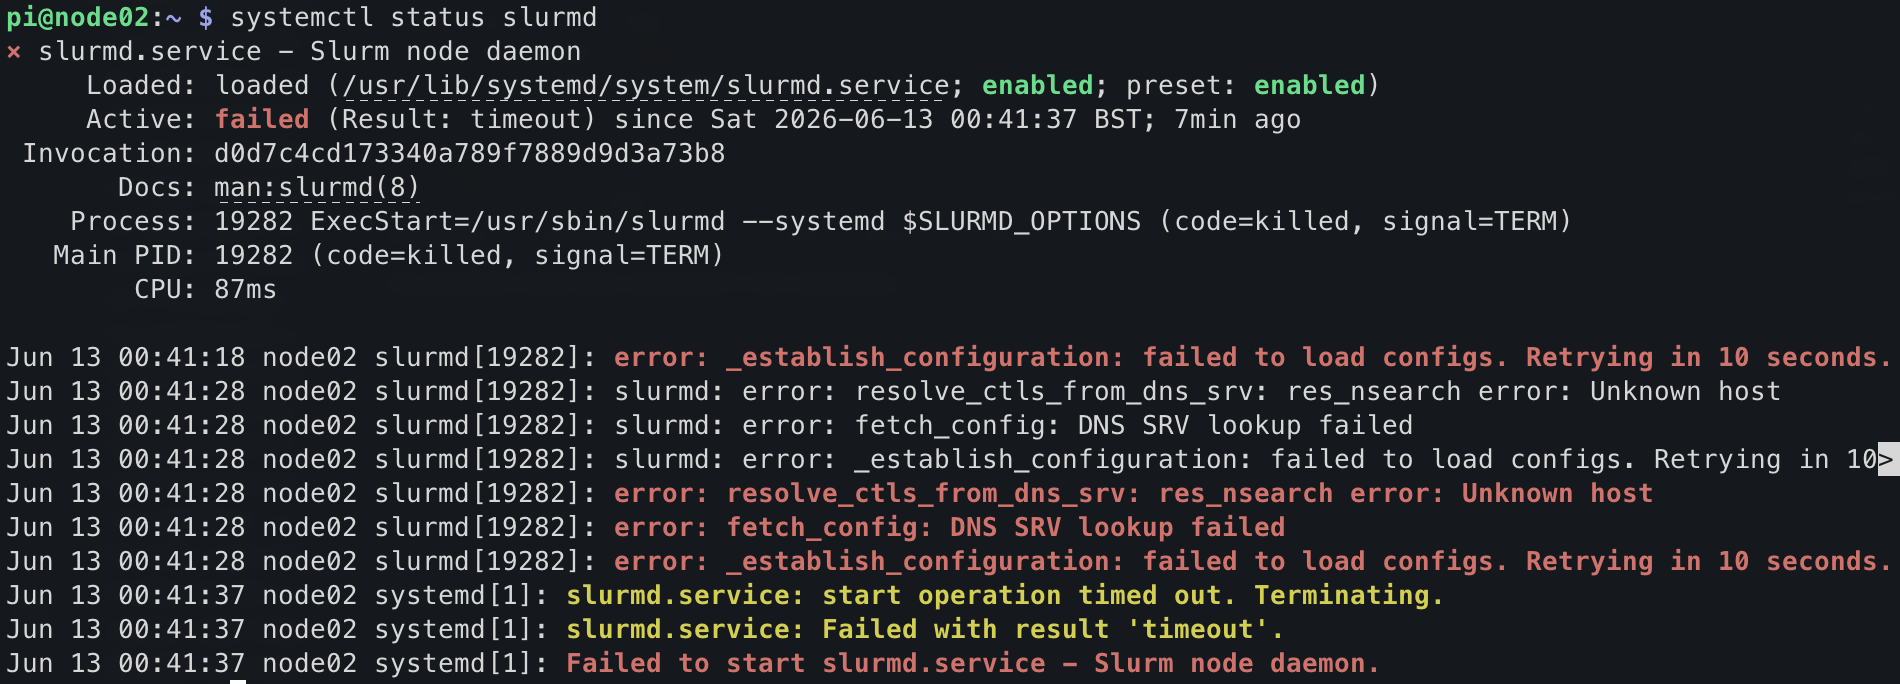 ::
::
 Pre-Alpha
This lesson is in the pre-alpha phase, which means that it is in early development, but has not yet been taught.
Pre-Alpha
This lesson is in the pre-alpha phase, which means that it is in early development, but has not yet been taught.
::